Essential Equipment and Milk Selection for Latte Art Success
Before practicing any latte art design, you must gather the correct https://www.moodtrapcoffeeroasters.com/ equipment and ingredients. A professional espresso machine with a steam wand is non-negotiable because it produces the pressurized steam needed to texture milk properly. You will also need a stainless steel milk pitcher with a narrow spout, ideally a 12-ounce or 20-ounce size, and a thermometer to monitor milk temperature. Espresso cups with rounded bottoms and wide rims help the milk flow smoothly across the surface. For milk selection, whole milk (3.25 percent fat) is the gold standard for beginners because its fat and protein balance creates the creamiest microfoam. Two percent milk works but produces thinner foam, while non-dairy alternatives like oat milk or soy milk can succeed with practice, but almond milk is notoriously difficult. Always use cold, fresh milk never previously steamed, as reheated milk cannot form stable bubbles for art.
Mastering Milk Texturing and Microfoam Creation
Perfect microfoam is the foundation of all latte art, and achieving it requires precise steaming technique. Begin by purging the steam wand to remove condensation, then insert the wand tip just below the milk’s surface at a slight angle. Turn the steam to full power immediately, and you will hear a gentle paper-tearing sound. This is the aeration phase, lasting only 2 to 4 seconds. During this phase, you are incorporating tiny air bubbles into the milk. Then submerge the wand tip deeper to create a swirling vortex, which breaks large bubbles into microscopic foam. Continue steaming until the milk pitcher becomes too hot to hold for more than 2 seconds, which is approximately 140 to 150 degrees Fahrenheit. Turn off the steam and wipe the wand immediately. Swirl the milk pitcher vigorously for 5 to 10 seconds to integrate the foam, then tap it firmly on the counter to pop any remaining surface bubbles. The finished microfoam should look like wet, shiny white paint with no visible bubbles, producing a smooth, velvety texture that flows effortlessly.
The Perfect Espresso Shot Preparation
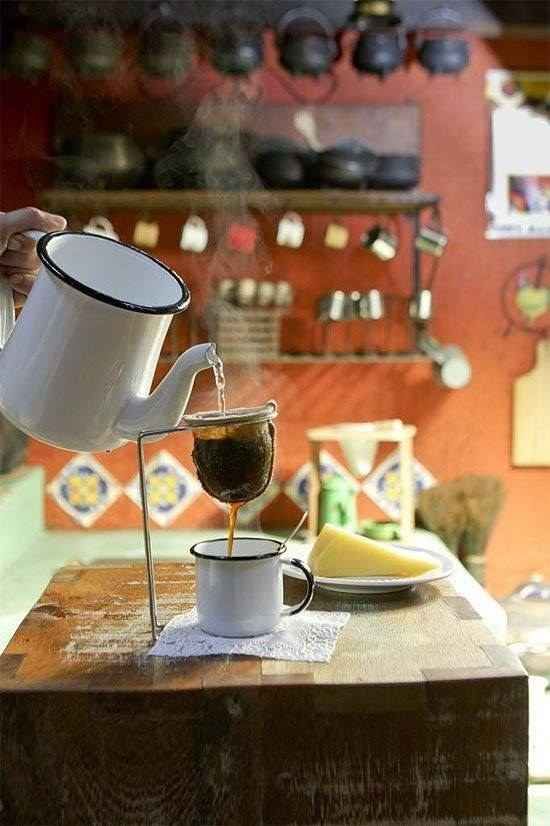
No amount of milk artistry can salvage poorly pulled espresso. Start with freshly roasted beans ground immediately before brewing on a fine setting resembling table salt. Use 18 to 20 grams of coffee for a double shot, distributing it evenly in the portafilter basket. Level the grounds with your finger or a distribution tool, then tamp with 30 pounds of consistent pressure, keeping the tamper perfectly flat. Lock the portafilter into the machine and start the extraction immediately. A proper shot should take 25 to 30 seconds to produce 36 to 40 grams of liquid espresso. Watch for the three stages of extraction: first, a dark brown drip that transforms into a golden-brown stream with tiger-striping patterns, then finally a blonde, watery flow that signals the end. The finished espresso should have a thick layer of crema reddish-brown foam on top, as the crema acts as the canvas for your latte art. If the crema is thin or white, your espresso is under-extracted or stale.
Foundational Designs: The Heart and Rosetta
Begin your latte art journey with the heart, the simplest design that teaches fundamental pouring mechanics. Pour your textured milk from a height of 4 inches into the center of the espresso, using a thin, steady stream to integrate milk and crema. Fill the cup to about 40 percent capacity, then lower the pitcher spout until it almost touches the coffee surface. Increase your pour rate and tilt the cup so the milk flows freely. A white circle will appear as the milk pushes the crema outward. When the circle reaches your desired size, lift the pitcher back to 4 inches and pour a thin stream through the center of the circle, pulling it into a heart shape. Once you master the heart, advance to the rosetta or leaf design. After integrating the base layer, lower the pitcher and pour a steady stream in the center. Rapidly wiggle the pitcher side to side while moving it backward toward the cup’s far edge, creating a zigzag line of overlapping white bases. Stop wiggling, raise the pitcher, and pour a thin line through the center to complete the leaf stem.
Advanced Techniques and Common Troubleshooting
Professional baristas spend months perfecting tulips, swans, and three-dimensional designs. The tulip involves stacking multiple concentric circles by starting and stopping the pour in layers. Pour a small white dot, stop pouring completely, then pour another dot slightly behind the first, repeating three to four times before pulling through. The swan combines rosetta wings with a heart head and curved neck, requiring exceptional pitcher control. Common problems and solutions include: if your design appears pale and washed out, your milk foam is too thin add more aeration time. If your design is bubbly and rough, your milk foam is too thick reduce aeration and swirl more vigorously. If the white pattern sinks into the espresso, your pour was too slow or the pitcher was too high. If crema swirls unpredictably, your espresso was too old or poorly extracted. Practice consistently with water in your pitcher to master pouring angles, then graduate to milk. Remember that latte art requires patience, with most baristas needing 500 to 1,000 practice cups before achieving consistent professional results.